背景
随着ChatGPT的问世和不断迭代,越来越多的大模型产品问世。也有越来越多的应用尝试接入大模型,重构应用,拥抱AI。Spring 作为 Java 生态最知名框架,为了方便我们做相关开发,推出 Spring AI 框架,对大模型领域内的关键模块和能力进行抽象,譬如:模型(Model)、提示词(Prompt)、嵌入(Embedding)等。而 Spring AI Alibaba 则是阿里对 Spring AI 的实现和补充,同时完整适配了阿里云通义模型。
项目官网:https://sca.aliyun.com/ai/concepts/?spm=0.29160081.0.0.f3f87021yjjS9q
Github:https://github.com/alibaba/spring-ai-alibaba
快速开始
了解了 Spring AI Alibaba 大致概念后,我们快速体验下怎么开发一个简单的 AI 应用。
新建应用
我们以 Maven 来构建应用,首先新建 pom.xml,核心依赖是 spring-ai-alibaba-starter
 <?xml version="1.0" encoding="UTF-8"?>
<project xmlns="http://maven.apache.org/POM/4.0.0"
         xmlns:xsi="http://www.w3.org/2001/XMLSchema-instance"
         xsi:schemaLocation="http://maven.apache.org/POM/4.0.0 http://maven.apache.org/xsd/maven-4.0.0.xsd">
    <modelVersion>4.0.0</modelVersion>

    <parent>
        <groupId>org.springframework.boot</groupId>
        <artifactId>spring-boot-starter-parent</artifactId>
        <version>3.3.3</version>
        <relativePath/> <!-- lookup parent from repository -->
    </parent>

    <groupId>top.zysite</groupId>
    <artifactId>hello-spring-ai</artifactId>
    <version>1.0-SNAPSHOT</version>

    <properties>
        <project.build.sourceEncoding>UTF-8</project.build.sourceEncoding>
        <project.reporting.outputEncoding>UTF-8</project.reporting.outputEncoding>
        <maven.compiler.source>21</maven.compiler.source>
        <maven.compiler.target>21</maven.compiler.target>
        <maven-deploy-plugin.version>3.1.1</maven-deploy-plugin.version>

        <!-- Spring AI -->
        <spring-ai-alibaba.version>1.0.0-M2</spring-ai-alibaba.version>
    </properties>


    <dependencies>
        <dependency>
            <groupId>com.alibaba.cloud.ai</groupId>
            <artifactId>spring-ai-alibaba-starter</artifactId>
            <version>${spring-ai-alibaba.version}</version>
        </dependency>

        <dependency>
            <groupId>org.springframework.boot</groupId>
            <artifactId>spring-boot-starter-web</artifactId>
        </dependency>
    </dependencies>

    <build>
        <plugins>
            <plugin>
                <groupId>org.springframework.boot</groupId>
                <artifactId>spring-boot-maven-plugin</artifactId>
            </plugin>
            <plugin>
                <groupId>org.apache.maven.plugins</groupId>
                <artifactId>maven-deploy-plugin</artifactId>
                <version>${maven-deploy-plugin.version}</version>
                <configuration>
                    <skip>true</skip>
                </configuration>
            </plugin>
        </plugins>
    </build>

    <repositories>
        <repository>
            <id>spring-milestones</id>
            <name>Spring Milestones</name>
            <url>https://repo.spring.io/milestone</url>
            <snapshots>
                <enabled>false</enabled>
            </snapshots>
        </repository>
    </repositories>

</project>
新建 SpringBoot 入口类:
package top.zysite.hello.spring.ai;

import org.springframework.boot.SpringApplication;
import org.springframework.boot.autoconfigure.SpringBootApplication;

@SpringBootApplication
public class HelloSpringAI {
    public static void main(String[] args) {
        //启动Springboot容器
        SpringApplication.run(HelloSpringAI.class, args);
    }
}
新建 Controller
我们新建一个 ChatController 用于暴露 web 接口,方便调试。
package top.zysite.hello.spring.ai.controller;

import org.springframework.ai.chat.client.ChatClient;
import org.springframework.web.bind.annotation.GetMapping;
import org.springframework.web.bind.annotation.RequestMapping;
import org.springframework.web.bind.annotation.RestController;
import reactor.core.publisher.Flux;

import java.util.Objects;

@RestController
@RequestMapping("/ai")
public class ChatController {
    private final ChatClient chatClient;

    public ChatController(ChatClient.Builder builder) {
        this.chatClient = builder.build();
    }

    @GetMapping("/chat")
    public String chat(String input) {
        return this.chatClient.prompt()
                .user(input)
                .call()
                .content();
    }

    @GetMapping("/stream")
    public String stream(String input) {
        Flux<String> content = this.chatClient.prompt().user(input).stream().content();
        return Objects.requireNonNull(content.collectList().block()).stream().reduce((a, b) -> a + b).get();
    }

    @GetMapping("/test")
    public String test() {
        return "hello spring ai";
    }
}
新建配置文件
我们在 resource 目录下 新建配置文件 application.yaml
server:
  port: 8080
spring:
  application:
    name: hello-spring-ai
到这里已经应用已经可以启动了。我们启动试试

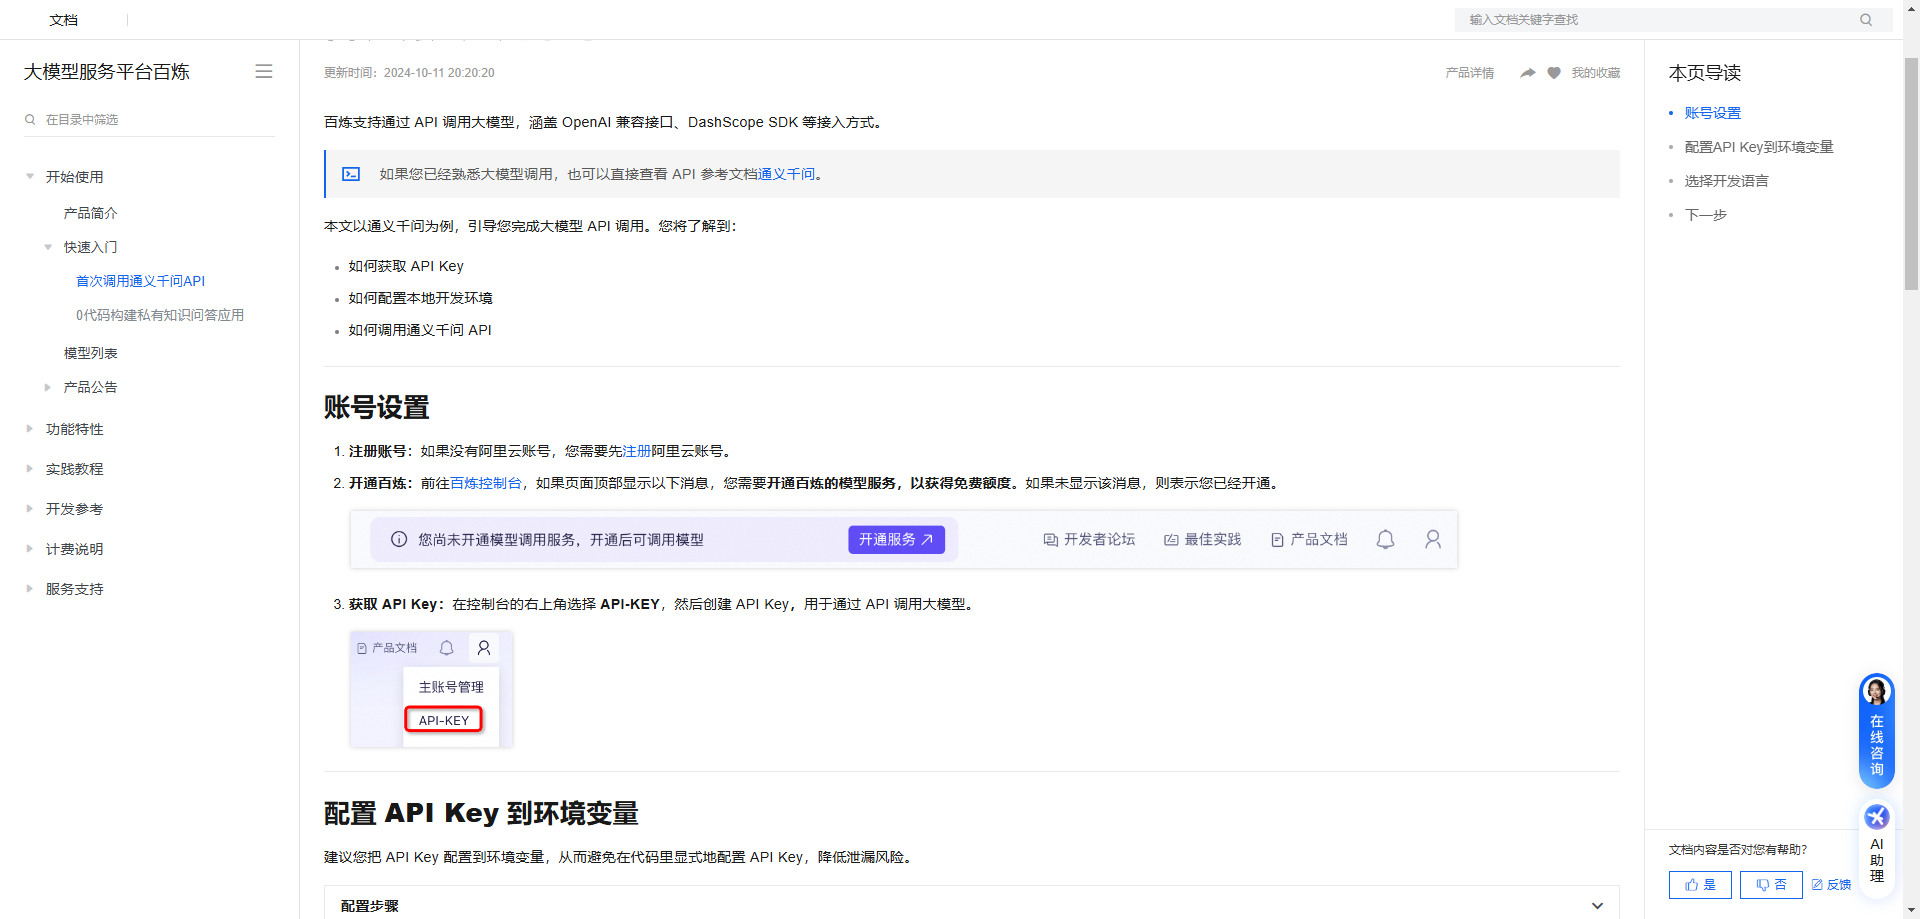
发现报错了,看日志是调用大模型需要一个 API KEY,我们找下官方文档:https://help.aliyun.com/zh/model-studio/getting-started/first-api-call-to-qwen?spm=a2c4g.11186623.0.0.5a06b0a8xgAh77
根据文档获取 API KEY,并配置环境变量。

然后为了在运行时能够读取到 API KEY,我们需要修改下配置文件,新增 API KEY 的配置:
server:
  port: 8080
spring:
  application:
    name: hello-spring-ai
  ai:
    dashscope:
      api-key: ${DASHSCOPE_API_KEY}
其中 DASHSCOPE_API_KEY 是前面设置的 API KEY 的环境变量名。注意:API KEY 不要暴露,因为调用大模型是会产生费用的,我们自己开发调试没问题,目前有一些免费额度。
改完后我们再启动,发现没有报错了。
访问:http://localhost:8080/ai/test 发现正常输出 hello spring ai,说明web 接口没问题。
然后访问:http://localhost:8080/ai/chat?input=什么是ChatGPT
发现可以正常输出大模型生成的内容。
至此,一个简单的 AI 应用就开发好了,还是很方便简单的。官网也提供了很多相关例子,以及更多高级功能可以探索,感兴趣可以 clone 项目到本地,运行试试。


