
环境依赖
Nacos。如使用docker安装可参考:docker-compose部署Nacos
改造好的 sentinel-dashboard。具体改造可参考改造sentinel-dashboard,使用Nacos持久化规则(详细)
创建项目
创建项目 hello-sentinel。
pom.xml 文件如下:
<?xml version="1.0" encoding="UTF-8"?>
<project xmlns="http://maven.apache.org/POM/4.0.0" xmlns:xsi="http://www.w3.org/2001/XMLSchema-instance"
         xsi:schemaLocation="http://maven.apache.org/POM/4.0.0 https://maven.apache.org/xsd/maven-4.0.0.xsd">
    <modelVersion>4.0.0</modelVersion>
    <parent>
        <groupId>org.springframework.boot</groupId>
        <artifactId>spring-boot-starter-parent</artifactId>
        <version>2.3.0.RELEASE</version>
        <relativePath/> <!-- lookup parent from repository -->
    </parent>
    <groupId>top.zysite</groupId>
    <artifactId>hello-sentinel</artifactId>
    <version>1.0.0-SNAPSHOT</version>
    <name>hello-sentinel</name>
    <description>Demo project for Spring Boot</description>
    <packaging>pom</packaging>

    <modules>
        <module>hello-sentinel-gateway</module>
        <module>hello-sentinel-normal</module>
    </modules>

    <properties>
        <spring-cloud.version>Hoxton.SR5</spring-cloud.version>
        <admin-starter-server.version>2.2.3</admin-starter-server.version>
        <spring-cloud-alibaba.version>2.2.0.RELEASE</spring-cloud-alibaba.version>
    </properties>

    <dependencyManagement>
        <dependencies>
            <!--Spring Cloud 相关依赖-->
            <dependency>
                <groupId>org.springframework.cloud</groupId>
                <artifactId>spring-cloud-dependencies</artifactId>
                <version>${spring-cloud.version}</version>
                <type>pom</type>
                <scope>import</scope>
            </dependency>

            <dependency>
                <groupId>com.alibaba.cloud</groupId>
                <artifactId>spring-cloud-alibaba-dependencies</artifactId>
                <version>${spring-cloud-alibaba.version}</version>
                <type>pom</type>
                <scope>import</scope>
            </dependency>
            <!--集成SpringBoot Admin监控-->
            <dependency>
                <groupId>de.codecentric</groupId>
                <artifactId>spring-boot-admin-starter-server</artifactId>
                <version>${admin-starter-server.version}</version>
            </dependency>

            <dependency>
                <groupId>org.springframework.boot</groupId>
                <artifactId>spring-boot-starter-web</artifactId>
                <version>2.4.0</version>
            </dependency>

            <dependency>
                <groupId>org.springframework.boot</groupId>
                <artifactId>spring-boot-starter-test</artifactId>
                <scope>test</scope>
            </dependency>

            <dependency>
                <groupId>com.alibaba</groupId>
                <artifactId>fastjson</artifactId>
                <version>1.2.75</version>
            </dependency>

        </dependencies>
    </dependencyManagement>

    <repositories>
        <repository>
            <id>spring</id>
            <url>https://maven.aliyun.com/repository/spring</url>
            <releases>
                <enabled>true</enabled>
            </releases>
            <snapshots>
                <enabled>true</enabled>
            </snapshots>
        </repository>
    </repositories>
</project>
创建两个子模块:hello-sentinel-normal,和hello-sentinel-gateway。
hello-sentinel-normal 子模块 pom.xml 文件如下:
<?xml version="1.0" encoding="UTF-8"?>
<project xmlns="http://maven.apache.org/POM/4.0.0"
         xmlns:xsi="http://www.w3.org/2001/XMLSchema-instance"
         xsi:schemaLocation="http://maven.apache.org/POM/4.0.0 http://maven.apache.org/xsd/maven-4.0.0.xsd">
    <parent>
        <artifactId>hello-sentinel</artifactId>
        <groupId>top.zysite</groupId>
        <version>1.0.0-SNAPSHOT</version>
    </parent>
    <modelVersion>4.0.0</modelVersion>
    <groupId>top.zysite</groupId>
    <artifactId>hello-sentinel-normal</artifactId>
    <packaging>jar</packaging>
    <name>hello-sentinel-normal</name>

    <dependencies>
        <!-- web -->
        <dependency>
            <groupId>org.springframework.boot</groupId>
            <artifactId>spring-boot-starter-web</artifactId>
        </dependency>
		<!-- 在此处引入 [普通服务(非网关)中配置] 章节 依赖 -->
    </dependencies>

    <build>
        <plugins>
            <plugin>
                <groupId>org.springframework.boot</groupId>
                <artifactId>spring-boot-maven-plugin</artifactId>
            </plugin>
        </plugins>
    </build>

</project>
配置使用 普通服务(非网关)中配置 章节下的配置。
创建一个 测试 Controller:
package top.zysite.hello.sentinel.controller;

import com.alibaba.csp.sentinel.annotation.SentinelResource;
import org.springframework.web.bind.annotation.GetMapping;
import org.springframework.web.bind.annotation.RequestMapping;
import org.springframework.web.bind.annotation.RestController;

import java.util.Random;

/**
 * Hello控制器
 *
 * @author Leo
 * @create 2021/1/27 16:25
 **/
@RestController
@RequestMapping("hello")
public class HelloController {

//    @SentinelResource(value = "hello", fallback = "sentinelFallback")
    @GetMapping("sentinel")
    public String sentinel(){
        return "hello sentinel";
    }

//    @SentinelResource(value = "degrade", fallback = "sentinelFallback")
    @GetMapping("degrade")
    public String degrade(){
        //测试降级
        if(new Random().nextInt() % 2 == 0) {
            return "hello degrade";
        } else {
            throw new RuntimeException("RuntimeException");
        }
    }

    @GetMapping("param")
    public String paramFlowRule(String param1, Integer param2) {
        return "paramFlowRule";
    }

    public String sentinelFallback() {
        return "hello fallback";
    }
}
hello-sentinel-gateway 子模块 pom.xml 文件如下:
<?xml version="1.0" encoding="UTF-8"?>
<project xmlns="http://maven.apache.org/POM/4.0.0"
         xmlns:xsi="http://www.w3.org/2001/XMLSchema-instance"
         xsi:schemaLocation="http://maven.apache.org/POM/4.0.0 http://maven.apache.org/xsd/maven-4.0.0.xsd">
    <parent>
        <artifactId>hello-sentinel</artifactId>
        <groupId>top.zysite</groupId>
        <version>1.0.0-SNAPSHOT</version>
    </parent>
    <modelVersion>4.0.0</modelVersion>
    <groupId>top.zysite</groupId>
    <artifactId>hello-sentinel-gateway</artifactId>
    <packaging>jar</packaging>
    <name>hello-sentinel-gateway</name>

    <dependencies>
		<!-- 在此处引入 [网关中配置] 章节 依赖 -->
    </dependencies>

    <build>
        <plugins>
            <plugin>
                <groupId>org.springframework.boot</groupId>
                <artifactId>spring-boot-maven-plugin</artifactId>
            </plugin>
        </plugins>
    </build>

</project>
配置使用 网关中配置 章节下的配置。
普通服务(非网关)中配置
如果项目使用Spring Cloud,引入 Spring Cloud 整合依赖。
完整引入如下依赖:
<!--加入nacos的依赖-->
<dependency>
    <groupId>com.alibaba.cloud</groupId>
    <artifactId>spring-cloud-starter-alibaba-nacos-discovery</artifactId>
</dependency>

<dependency>
    <groupId>com.alibaba.cloud</groupId>
    <artifactId>spring-cloud-starter-alibaba-nacos-config</artifactId>
</dependency>

<!--添加Sentinel的依赖-->
<dependency>
    <groupId>com.alibaba.cloud</groupId>
    <artifactId>spring-cloud-starter-alibaba-sentinel</artifactId>
</dependency>

<dependency>
    <groupId>com.alibaba.csp</groupId>
    <artifactId>sentinel-datasource-nacos</artifactId>
</dependency>
<!-- actuator -->
<dependency>
    <groupId>org.springframework.boot</groupId>
    <artifactId>spring-boot-starter-actuator</artifactId>
</dependency>

<!-- openfeign -->
<dependency>
    <groupId>org.springframework.cloud</groupId>
    <artifactId>spring-cloud-starter-openfeign</artifactId>
</dependency>
在各个服务的配置文件中配置接入控制台并从 Nacos 获取限流、降级规则:
Sentinel 限流规则默认存在内存中,重启、掉线就会丢失,为了持久化限流规则,可以使用 Nacos 作为 Sentinel 限流规则数据源,此前已经对 sentinel-dashboard 进行了改造。完整application.yml配置如下:
server:
  port: 9003
nacos:
  server-addr: localhost:8848
sentinel:
  group-id: SENTINEL_GROUP
  data-type: json

spring:
  application:
    name: hello-sentinel-normal
  cloud:
    nacos:
      discovery:
        server-addr: ${nacos.server-addr}
    sentinel:
      transport:
        dashboard: localhost:8888
        port: 8719
        #客户端ip,多网卡时多次连接可能识别不同
#        client-ip: X.X.X.X
      datasource:
        #限流规则
        flow:
          nacos:
            server-addr: ${nacos.server-addr}
            data-id: ${spring.application.name}-flow-rules
            group-id: ${sentinel.group-id}
            data-type: ${sentinel.data-type}
            rule-type: flow
        #降级规则
        degrade:
          nacos:
            server-addr: ${nacos.server-addr}
            data-id: ${spring.application.name}-degrade-rules
            group-id: ${sentinel.group-id}
            data-type: ${sentinel.data-type}
            rule-type: degrade
        #热点规则
        param:
          nacos:
            server-addr: ${nacos.server-addr}
            data-id: ${spring.application.name}-param-rules
            group-id: ${sentinel.group-id}
            data-type: ${sentinel.data-type}
            rule-type: param_flow
        #系统规则
        system:
          nacos:
            server-addr: ${nacos.server-addr}
            data-id: ${spring.application.name}-system-rules
            group-id: ${sentinel.group-id}
            data-type: ${sentinel.data-type}
            rule-type: system
        #授权规则
        authority:
          nacos:
            server-addr: ${nacos.server-addr}
            data-id: ${spring.application.name}-auth-rules
            group-id: ${sentinel.group-id}
            data-type: ${sentinel.data-type}
            rule-type: authority
      #取消延迟加载
      eager: true


management: #开启SpringBoot Admin的监控
  endpoints:
    web:
      exposure:
        include: '*'
  endpoint:
    health:
      show-details: always
feign:
  sentinel:
    enabled: true #开启feign对sentinel的支持
网关中配置
从 1.6.0 版本开始,Sentinel 提供了 Spring Cloud Gateway 的适配模块,可以提供两种资源维度的限流:
- route 维度:即在 Spring 配置文件中配置的路由条目,资源名为对应的 routeId
- 自定义 API 维度:用户可以利用 Sentinel 提供的 API 来自定义一些 API 分组
网关需要额外引入 Sentinel 整合网关的依赖,完整依赖如下:
<!-- gateway -->
<dependency>
    <groupId>org.springframework.cloud</groupId>
    <artifactId>spring-cloud-starter-gateway</artifactId>
</dependency>

<!--加入nacos的依赖-->
<dependency>
    <groupId>com.alibaba.cloud</groupId>
    <artifactId>spring-cloud-starter-alibaba-nacos-discovery</artifactId>
</dependency>

<dependency>
    <groupId>com.alibaba.cloud</groupId>
    <artifactId>spring-cloud-starter-alibaba-nacos-config</artifactId>
</dependency>

<!--添加Sentinel的依赖-->
<dependency>
    <groupId>com.alibaba.cloud</groupId>
    <artifactId>spring-cloud-starter-alibaba-sentinel</artifactId>
</dependency>
<!-- sentinel 整合 gateway-->
<dependency>
    <groupId>com.alibaba.cloud</groupId>
    <artifactId>spring-cloud-alibaba-sentinel-gateway</artifactId>
</dependency>

<dependency>
    <groupId>com.alibaba.csp</groupId>
    <artifactId>sentinel-datasource-nacos</artifactId>
</dependency>
<!-- actuator -->
<dependency>
    <groupId>org.springframework.boot</groupId>
    <artifactId>spring-boot-starter-actuator</artifactId>
</dependency>

<!-- openfeign -->
<dependency>
    <groupId>org.springframework.cloud</groupId>
    <artifactId>spring-cloud-starter-openfeign</artifactId>
</dependency>
完整application.yml配置如下:
server:
  port: 9100
nacos:
  server-addr: localhost:8848
sentinel:
  group-id: SENTINEL_GROUP
  data-type: json

spring:
  application:
    name: hello-sentinel-gateway
  cloud:
    gateway:
      discovery:
        locator:
          lower-case-service-id: true
          enabled: true
      routes:
        - id: hello-sentinel-normal
          uri: lb://hello-sentinel-normal
          predicates:
            - Path=/normalservice/**
          filters:
            - StripPrefix=1
    nacos:
      discovery:
        server-addr: ${nacos.server-addr}
    sentinel:
      transport:
        dashboard: localhost:8888
        port: 8719
        #客户端ip,多网卡时多次连接可能识别不同
      #        client-ip: x.x.x.x
      datasource:
        #网关route纬度限流规则
        gateway-flow:
          nacos:
            server-addr: ${nacos.server-addr}
            data-id: ${spring.application.name}-gateway-flow
            group-id: ${sentinel.group-id}
            data-type: ${sentinel.data-type}
            rule-type: gw_flow
        #网关api纬度限流规则
        gateway-api:
          nacos:
            server-addr: ${nacos.server-addr}
            data-id: ${spring.application.name}-gateway-api
            group-id: ${sentinel.group-id}
            data-type: ${sentinel.data-type}
            rule-type: gw_api_group
        #降级规则
        degrade:
          nacos:
            server-addr: ${nacos.server-addr}
            data-id: ${spring.application.name}-degrade-rules
            group-id: ${sentinel.group-id}
            data-type: ${sentinel.data-type}
            rule-type: degrade
        #系统规则
        system:
          nacos:
            server-addr: ${nacos.server-addr}
            data-id: ${spring.application.name}-system-rules
            group-id: ${sentinel.group-id}
            data-type: ${sentinel.data-type}
            rule-type: system
      #取消延迟加载
      eager: true

management: #开启SpringBoot Admin的监控
  endpoints:
    web:
      exposure:
        include: '*'
  endpoint:
    health:
      show-details: always
feign:
  sentinel:
    enabled: true #开启feign对sentinel的支持
在 启动类 main 方法里加入一条语句设置当前应用为网关类型:
@EnableFeignClients
@EnableDiscoveryClient
@SpringBootApplication
public class GateWayApplication {
    public static void main(String[] args) {
        //设置为网关类型
        System.setProperty("csp.sentinel.app.type", "1");
        SpringApplication.run(GateWayApplication.class, args);
    }
}
测试
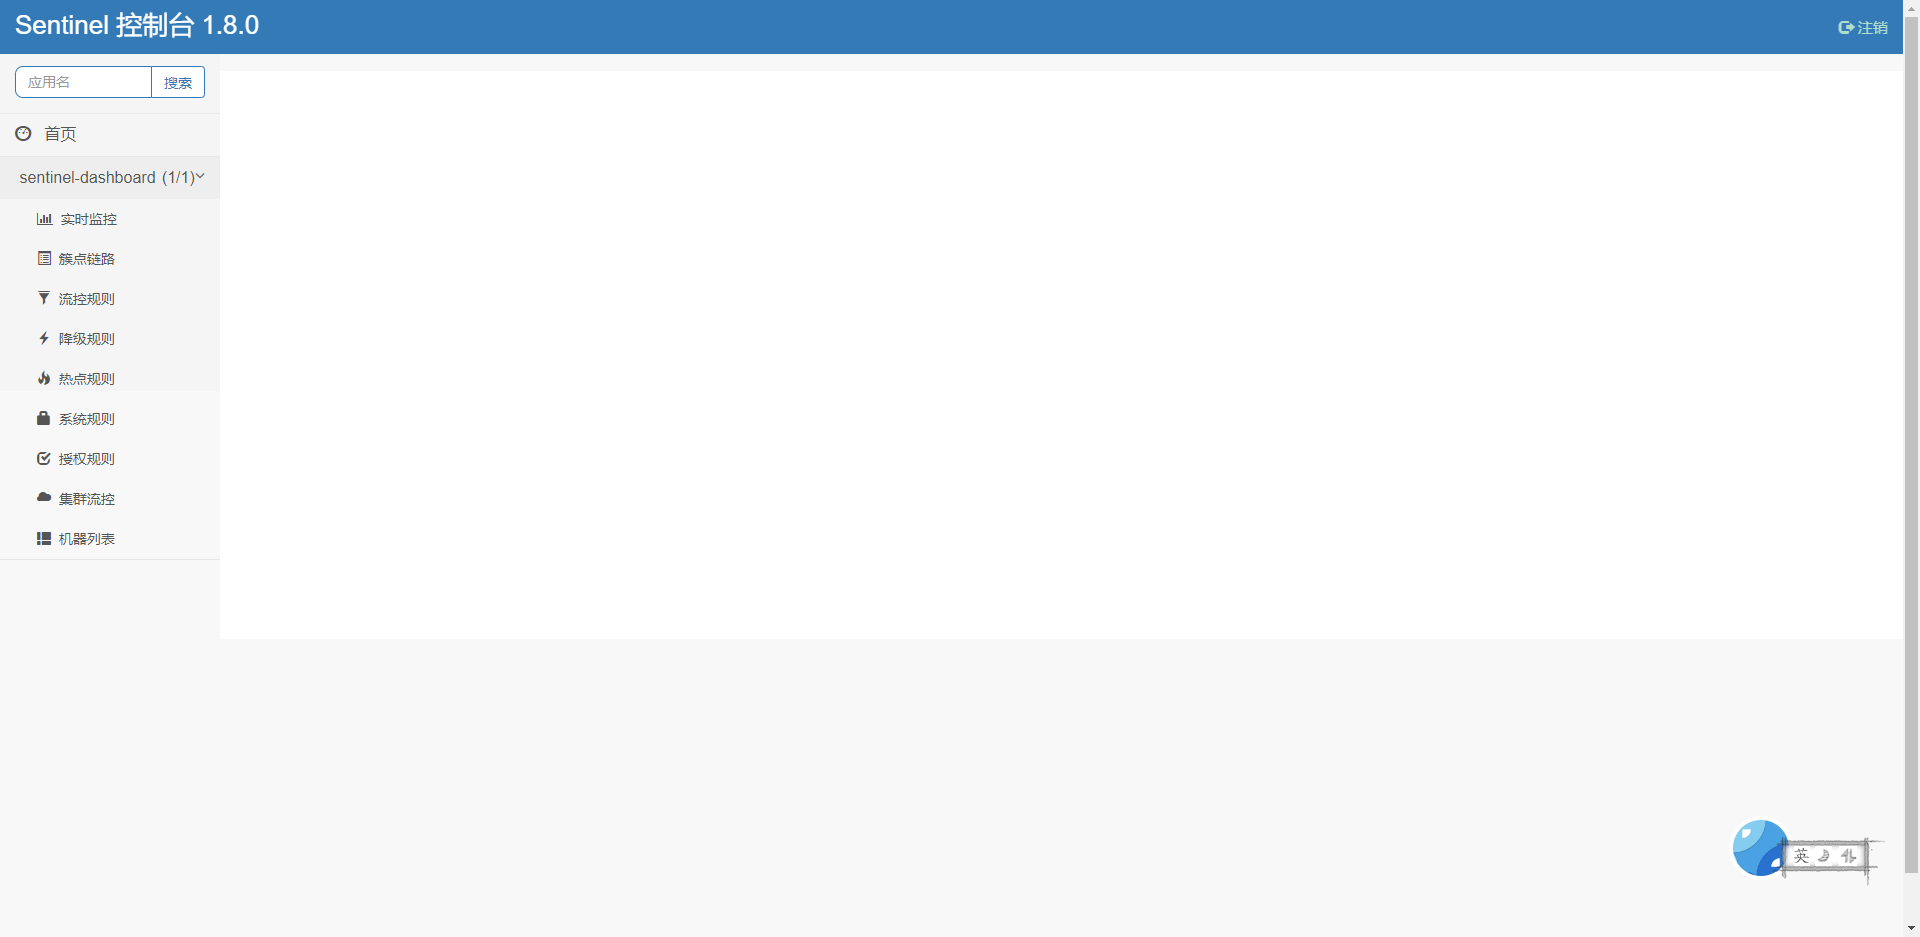
访问 localhost:8888 ,进入 sentinel 控制台,账户密码都为 sentinel ,登录进去。
启动 hello-sentinel-normal 和 hello-sentinel-gateway。

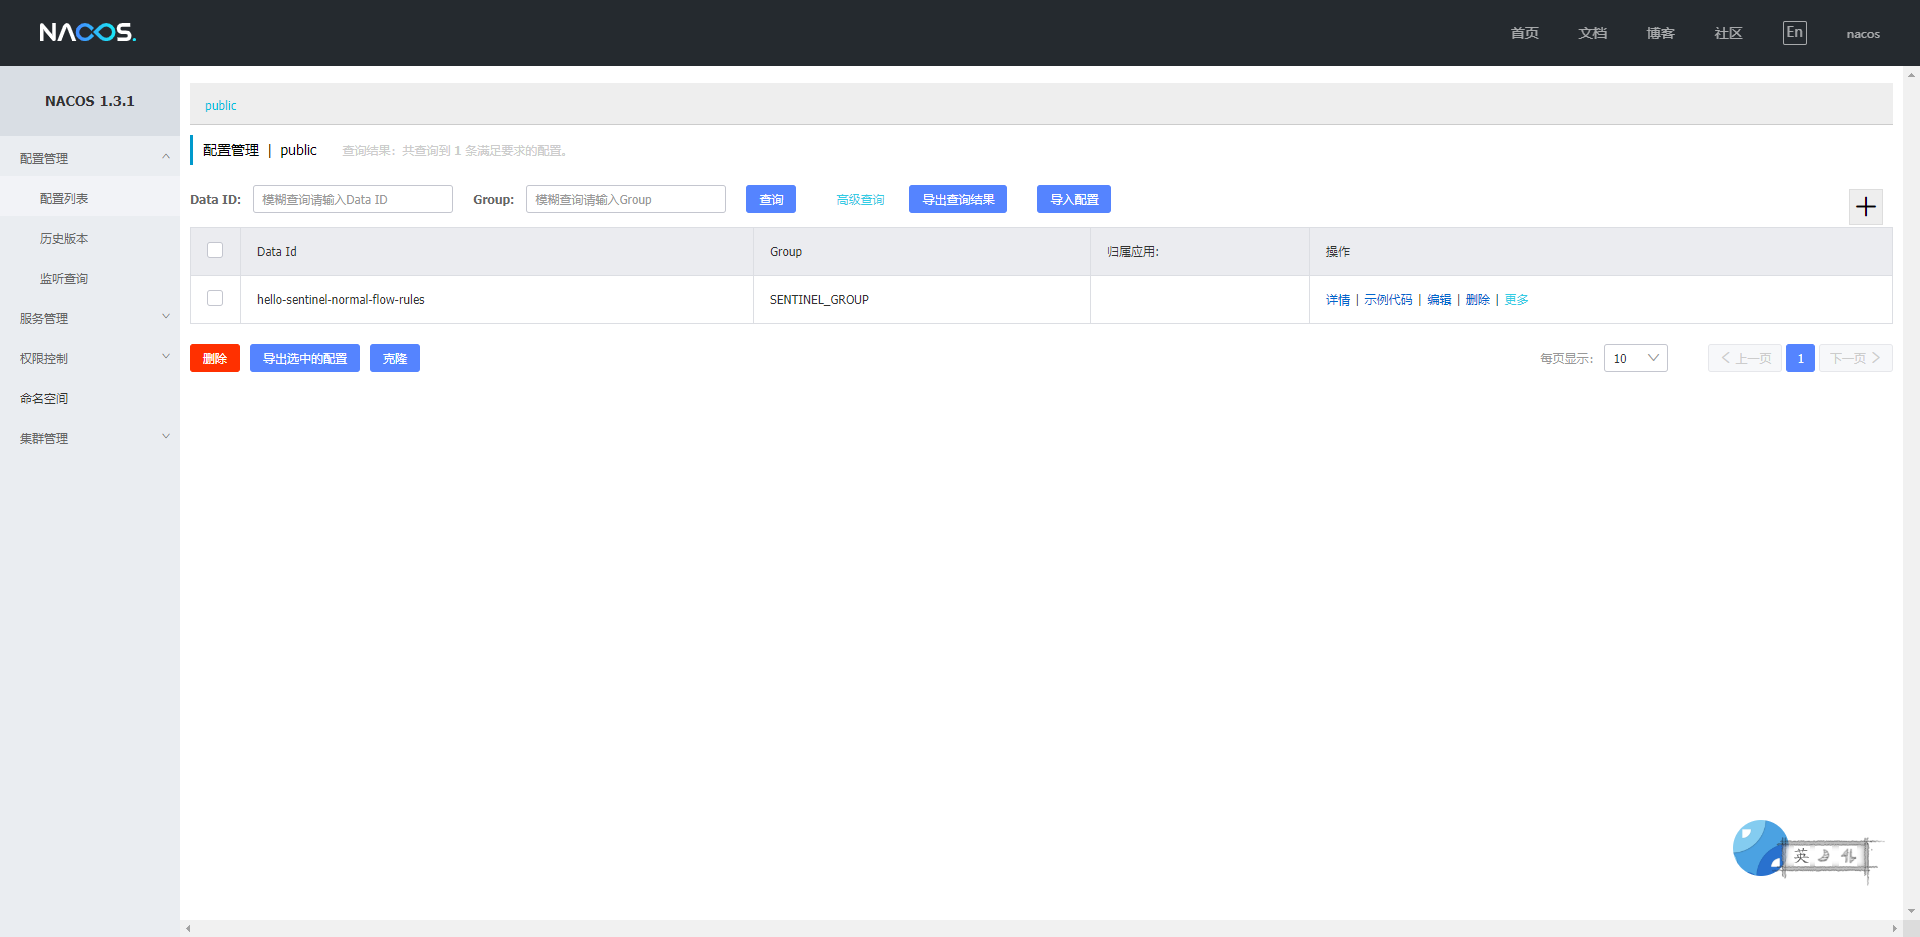
可以看到都已经连接到 sentinel 控制台了。在控制台 里创建、编辑各种规则,规则都会以配置文件形式保存在 Nacos 中。为 hello-sentinel-normal添加一条限流规则,然后进入 Nacos 控制台 localhost:8848 查看。
可以通过一些工具如 jmeter 测试限流是否正常。
服务中使用熔断功能
普通服务
通过 @SentinelResource注解中的fallback或者defaultFallback属性指定熔断方法,进行熔断处理。
示例代码:
@Service
public class DemoService {
    @SentinelResource(value = "DemoService#hello", defaultFallback = "helloFallback")
    public String hello(String name) {
        return "Hello, " + name;
    }

    public String helloFallback(String name, Throwable t) {
        if (BlockException.isBlockException(t)) {
            return "Blocked by Sentinel: " + t.getClass().getSimpleName();
        }
        return "Oops, failed: " + t.getClass().getCanonicalName();
    }
}
Feign 支持
依赖前面已经引入。
配置文件中配置feign.sentinel.enabled=true,开启对 feign 的支持。
示例代码:
@FeignClient(name = "service-provider", fallback = EchoServiceFallback.class, configuration = FeignConfiguration.class)
public interface EchoService {
    @RequestMapping(value = "/echo/{str}", method = RequestMethod.GET)
    String echo(@PathVariable("str") String str);
}

class FeignConfiguration {
    @Bean
    public EchoServiceFallback echoServiceFallback() {
        return new EchoServiceFallback();
    }
}

class EchoServiceFallback implements EchoService {
    @Override
    public String echo(@PathVariable("str") String str) {
        return "echo fallback";
    }
}
RestTemplate 支持
在构造 RestTemplate bean 的时候需要加上 @SentinelRestTemplate 注解。
示例代码:
@Bean
@SentinelRestTemplate(blockHandler = "handleException", blockHandlerClass = ExceptionUtil.class)
public RestTemplate restTemplate() {
    return new RestTemplate();
}
@SentinelRestTemplate 注解的属性支持限流(blockHandler, blockHandlerClass)和降级(fallback, fallbackClass)的处理。
源码
源码:上述例子源码